AUDIO VISUAL - OVERSMPL
BLOG
I have created this audio-visual piece in TouchDesginer, using MIDI mapping as a performance-based project, as it is mapped to a MIDI controller I can use when performance to adjust and change the visuals when needed. I have decided to present it as a music video for the track i have created, showing the variation and abstract visuals i have created.
The original idea started from looking at still images merging into one another. I gathered this from watching tutorials and music videos, mainly focusing on rapid cut switching and mood design. A tutorial by Xtal helped guide how I could structure the pathway and gather the right type of images. Watching music videos such as Swarm byMax Cooper gave me a strong starting point, especially in how visuals can feel fluid and connected rather than separate cuts. Moving forward, I decided to try and recreate this style in my own way.
I started testing this idea using images of faces, mainly photos I had taken of friends and family. I manipulated the pathway so that it reacted to audio, specifically making the cuts between images increase as the low end increased. This helped the visuals feel more connected to the track. I also experimented with filters and colour adjustments, which helped me realise that this idea could be pushed further. From this, I decided to move away from faces and instead use still landscape images, as they gave more variation and space to work with.
Using images gathered from holidays, I created two sets of visuals: one with natural landscapes and no manmade structures, and another with older architecture and buildings. This contrast allowed me to explore different visual moods. I Decided to do this to tell a story of how landscapes can change over time; they change over time because of us.
Using TouchDesigner, I applied filters such as contrast and monochrome to bring out stronger visual detail. I also added noise between cuts, which allowed the previous image to bleed into the next, creating a merging effect rather than hard transitions. This became a key part of the visual style.
FACES - DRAFT 1 IMAGE LAYOUT
I made the visuals audio reactive by linking volume to the amount of noise, meaning louder sections created more movement. Adding a black background helped emphasise drops in the track, making those moments feel more impactful. As the track is very energetic, I decided to introduce space within the visuals to allow them to breathe and build more naturally. Without the black background, the outcome felt too hectic and did not correlate well with the structure of the track, making it harder to follow visually.
With the background visuals developed, I moved on to adding shapes as another layer. I created a separate pathway for these, applying effects such as edge detection, displacement, and colour changes. This gave more variation and allowed the visuals to feel less repetitive. I have always been interested in generative shapes and how i can manipulate them through music, this project gave me the chance to try this. Floating points Anasickmodular first 30 seconds of the music video gave me inspiration on how colour and basic shapes can create mood and increase the visual to audio connection.
I made the shapes audio reactive by mapping the mid frequencies to their movement and size. This helped create more natural variation over time without needing constant manual input. However, I found that the composition still felt empty in areas, showing that more layering or control would be needed moving forward.
I started mapping the visuals to a MIDI controller (AKAI APC Mini), allowing more control, I worked with three main shapes; circle, triangle, and square. By adding noise and adjusting offsets, I could deconstruct these shapes and create more variation.
I also introduced a tile effect, which allowed me to duplicate the shapes across the screen. Mapping this to the low end of the track meant it would react automatically, freeing me up to control other elements like size, brightness, and movement. This made the workflow more efficient and performance focused.
The original use of people imagery didn’t work as well as expected, as it lost impact within the track. To fix this, I turned it into more of a strobe effect using a tile system. Mapping this to the MIDI controller allowed me to control the intensity and layering, making it more effective during transitions and breaks. I did this to show how the change in layering can accompany the original visual. It works well however in a few drafts the cuts of the people are too prominent, losing the landscapes and architectural images.
I also developed a new reactive background where brightness changes based on volume. Adjusting the colour to purple created a distinct visual section, giving more variation across the piece. Combining this with the original shapes helped build a more complete visual system.
This week focused on refining all elements, so they worked together. I adjusted image quality and resolution to ensure consistency across the visuals. I also spent time balancing contrast and colour to allow the noise effects to come through clearly.These adjustments were important in making the visuals feel more cohesive and ready for performance.
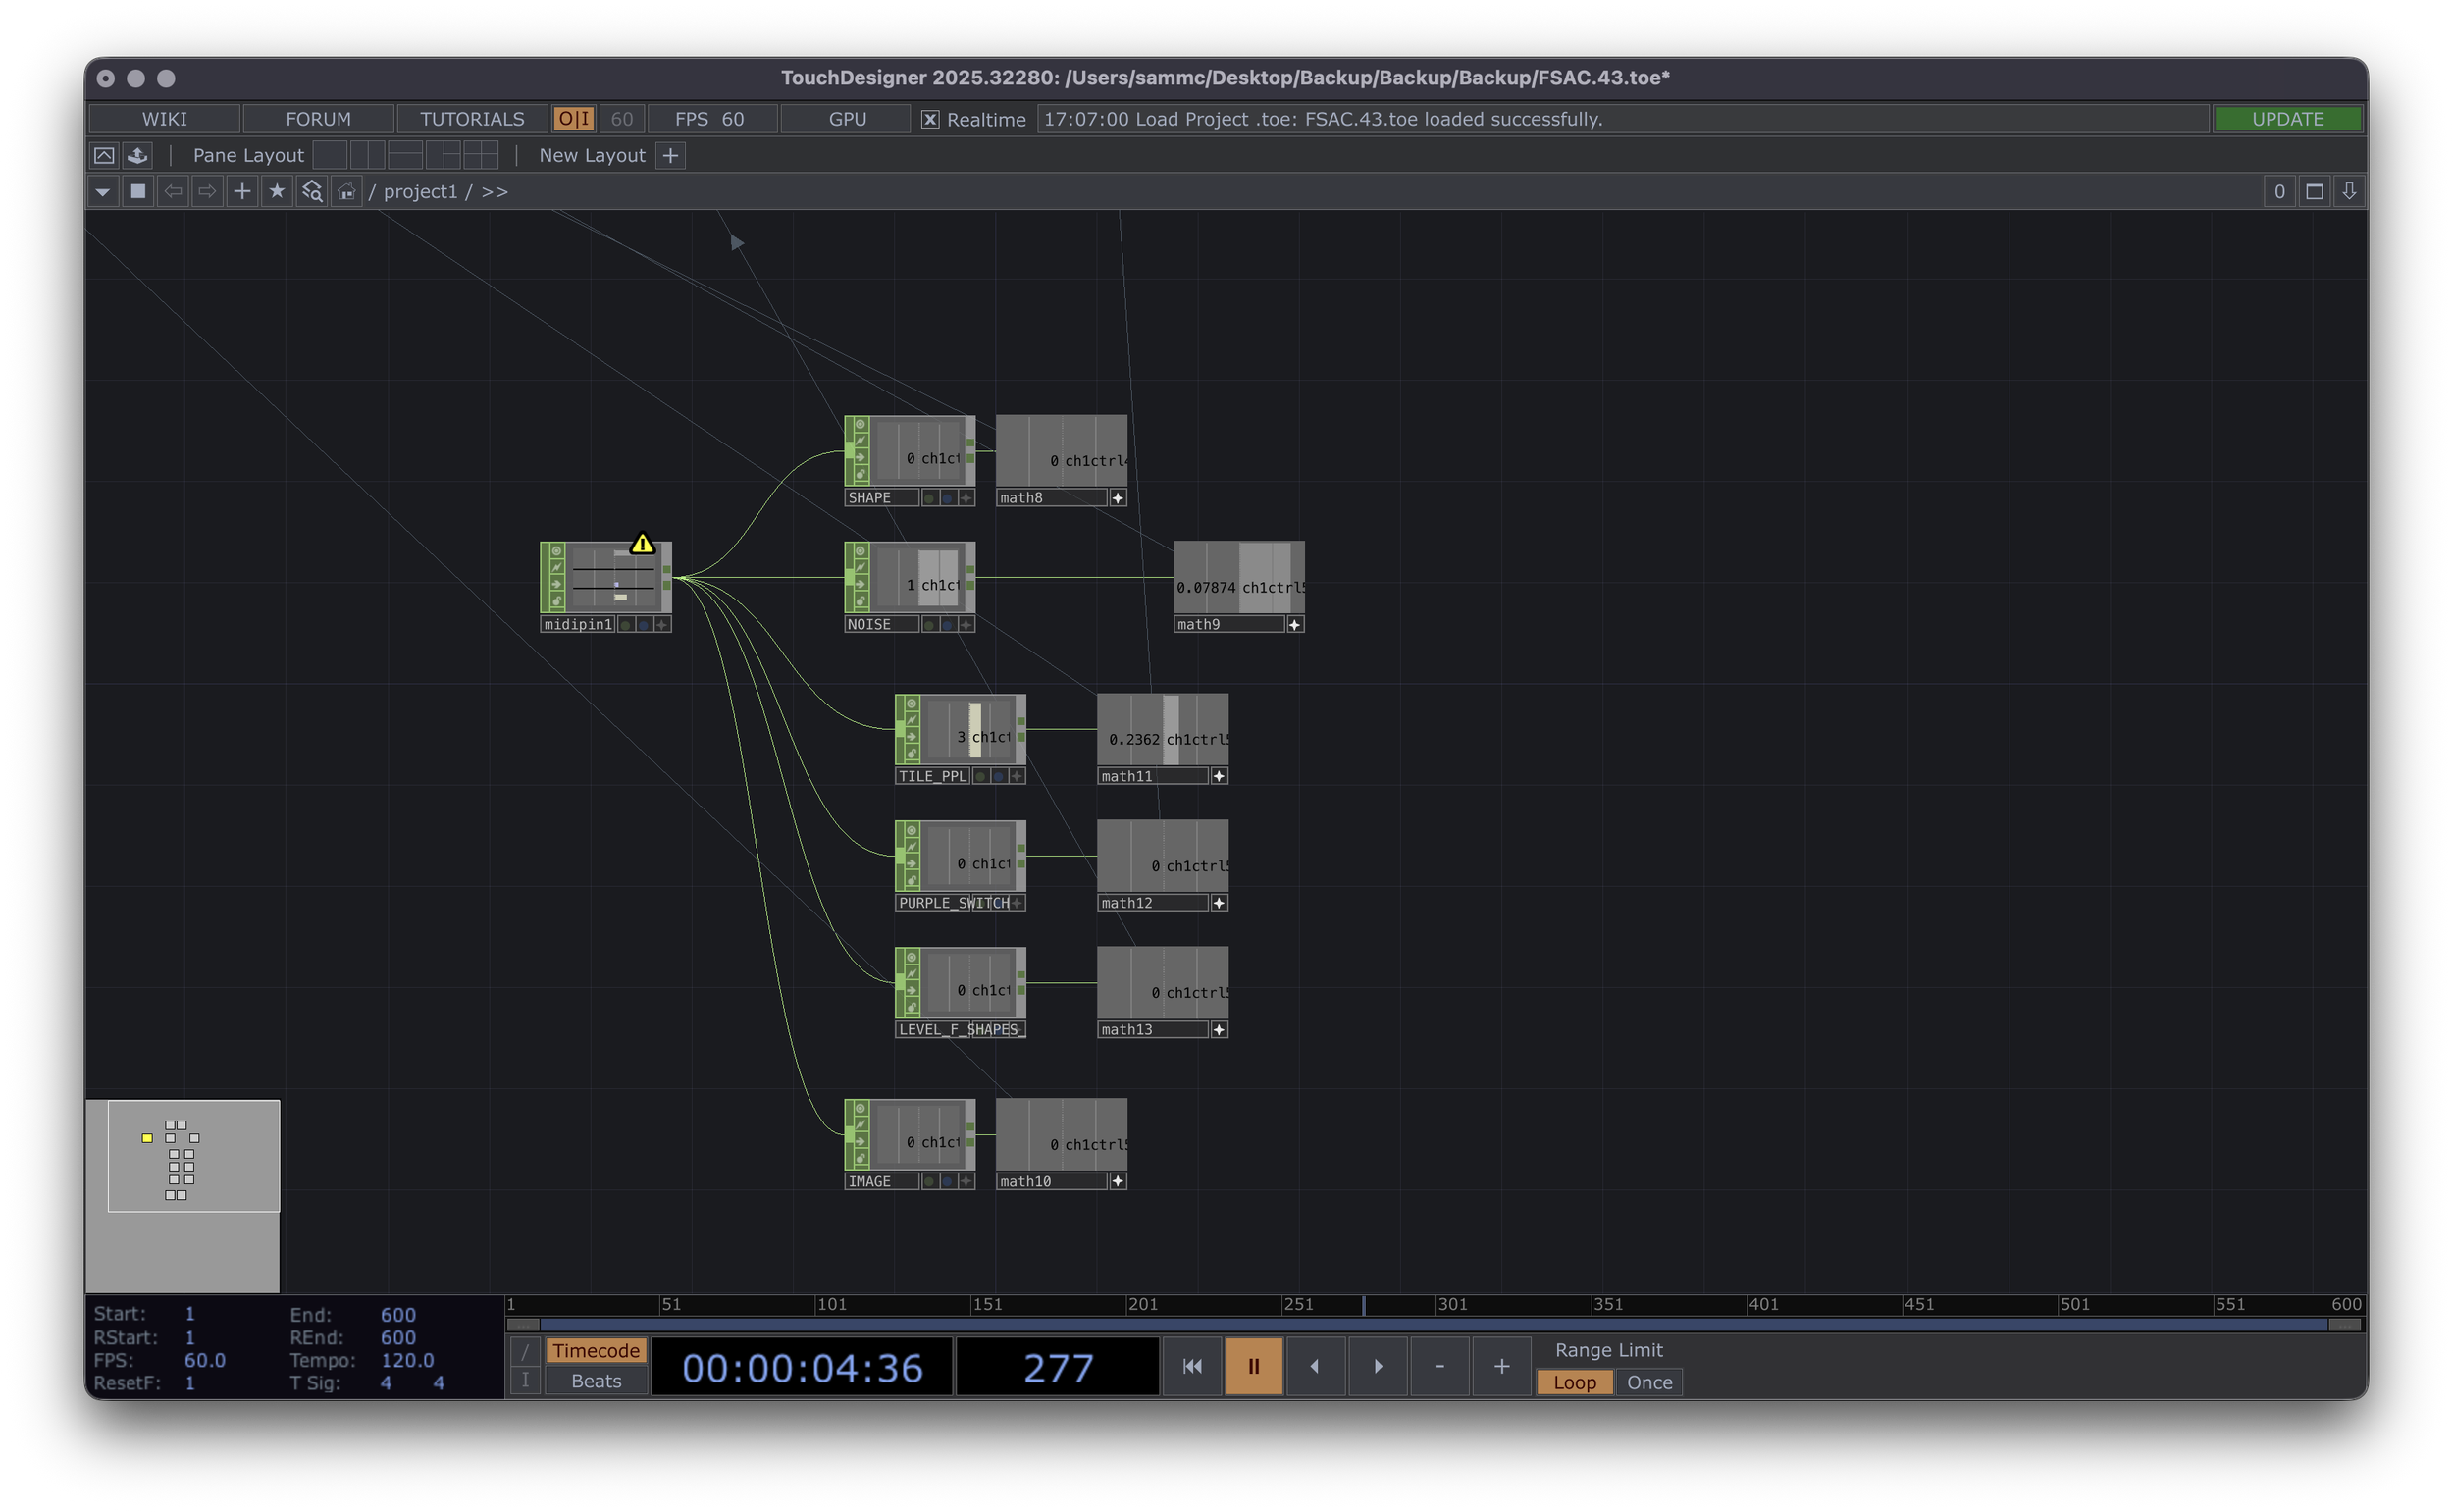
I finalised the MIDI mapping using the AKAI APC Mini. The controller has 9 sliders, which I assigned to key visual elements:
Slider 1 – Shape selection
Slider 2 – Shape offset
Slider 3 – Brightness
Slider 4 – Contrast
Slider 5 – Image switching
Slider 6 – Audio reactivity strength
Slider 7 – Purple visual layer MIDI parameters.
Slider 8 – Strobe people effect
Slider 9 – Brightness of people images
This setup allowed me to control the visuals live while recording, making the outcome more performance-based rather than pre-rendered. Having this many mapped sliders did cause confusion when rehearsing how and what areas I would affect whilst recording the final piece, having maybe group mapping things like level or size would have worked easier, however this gave me more control over every area mapped.
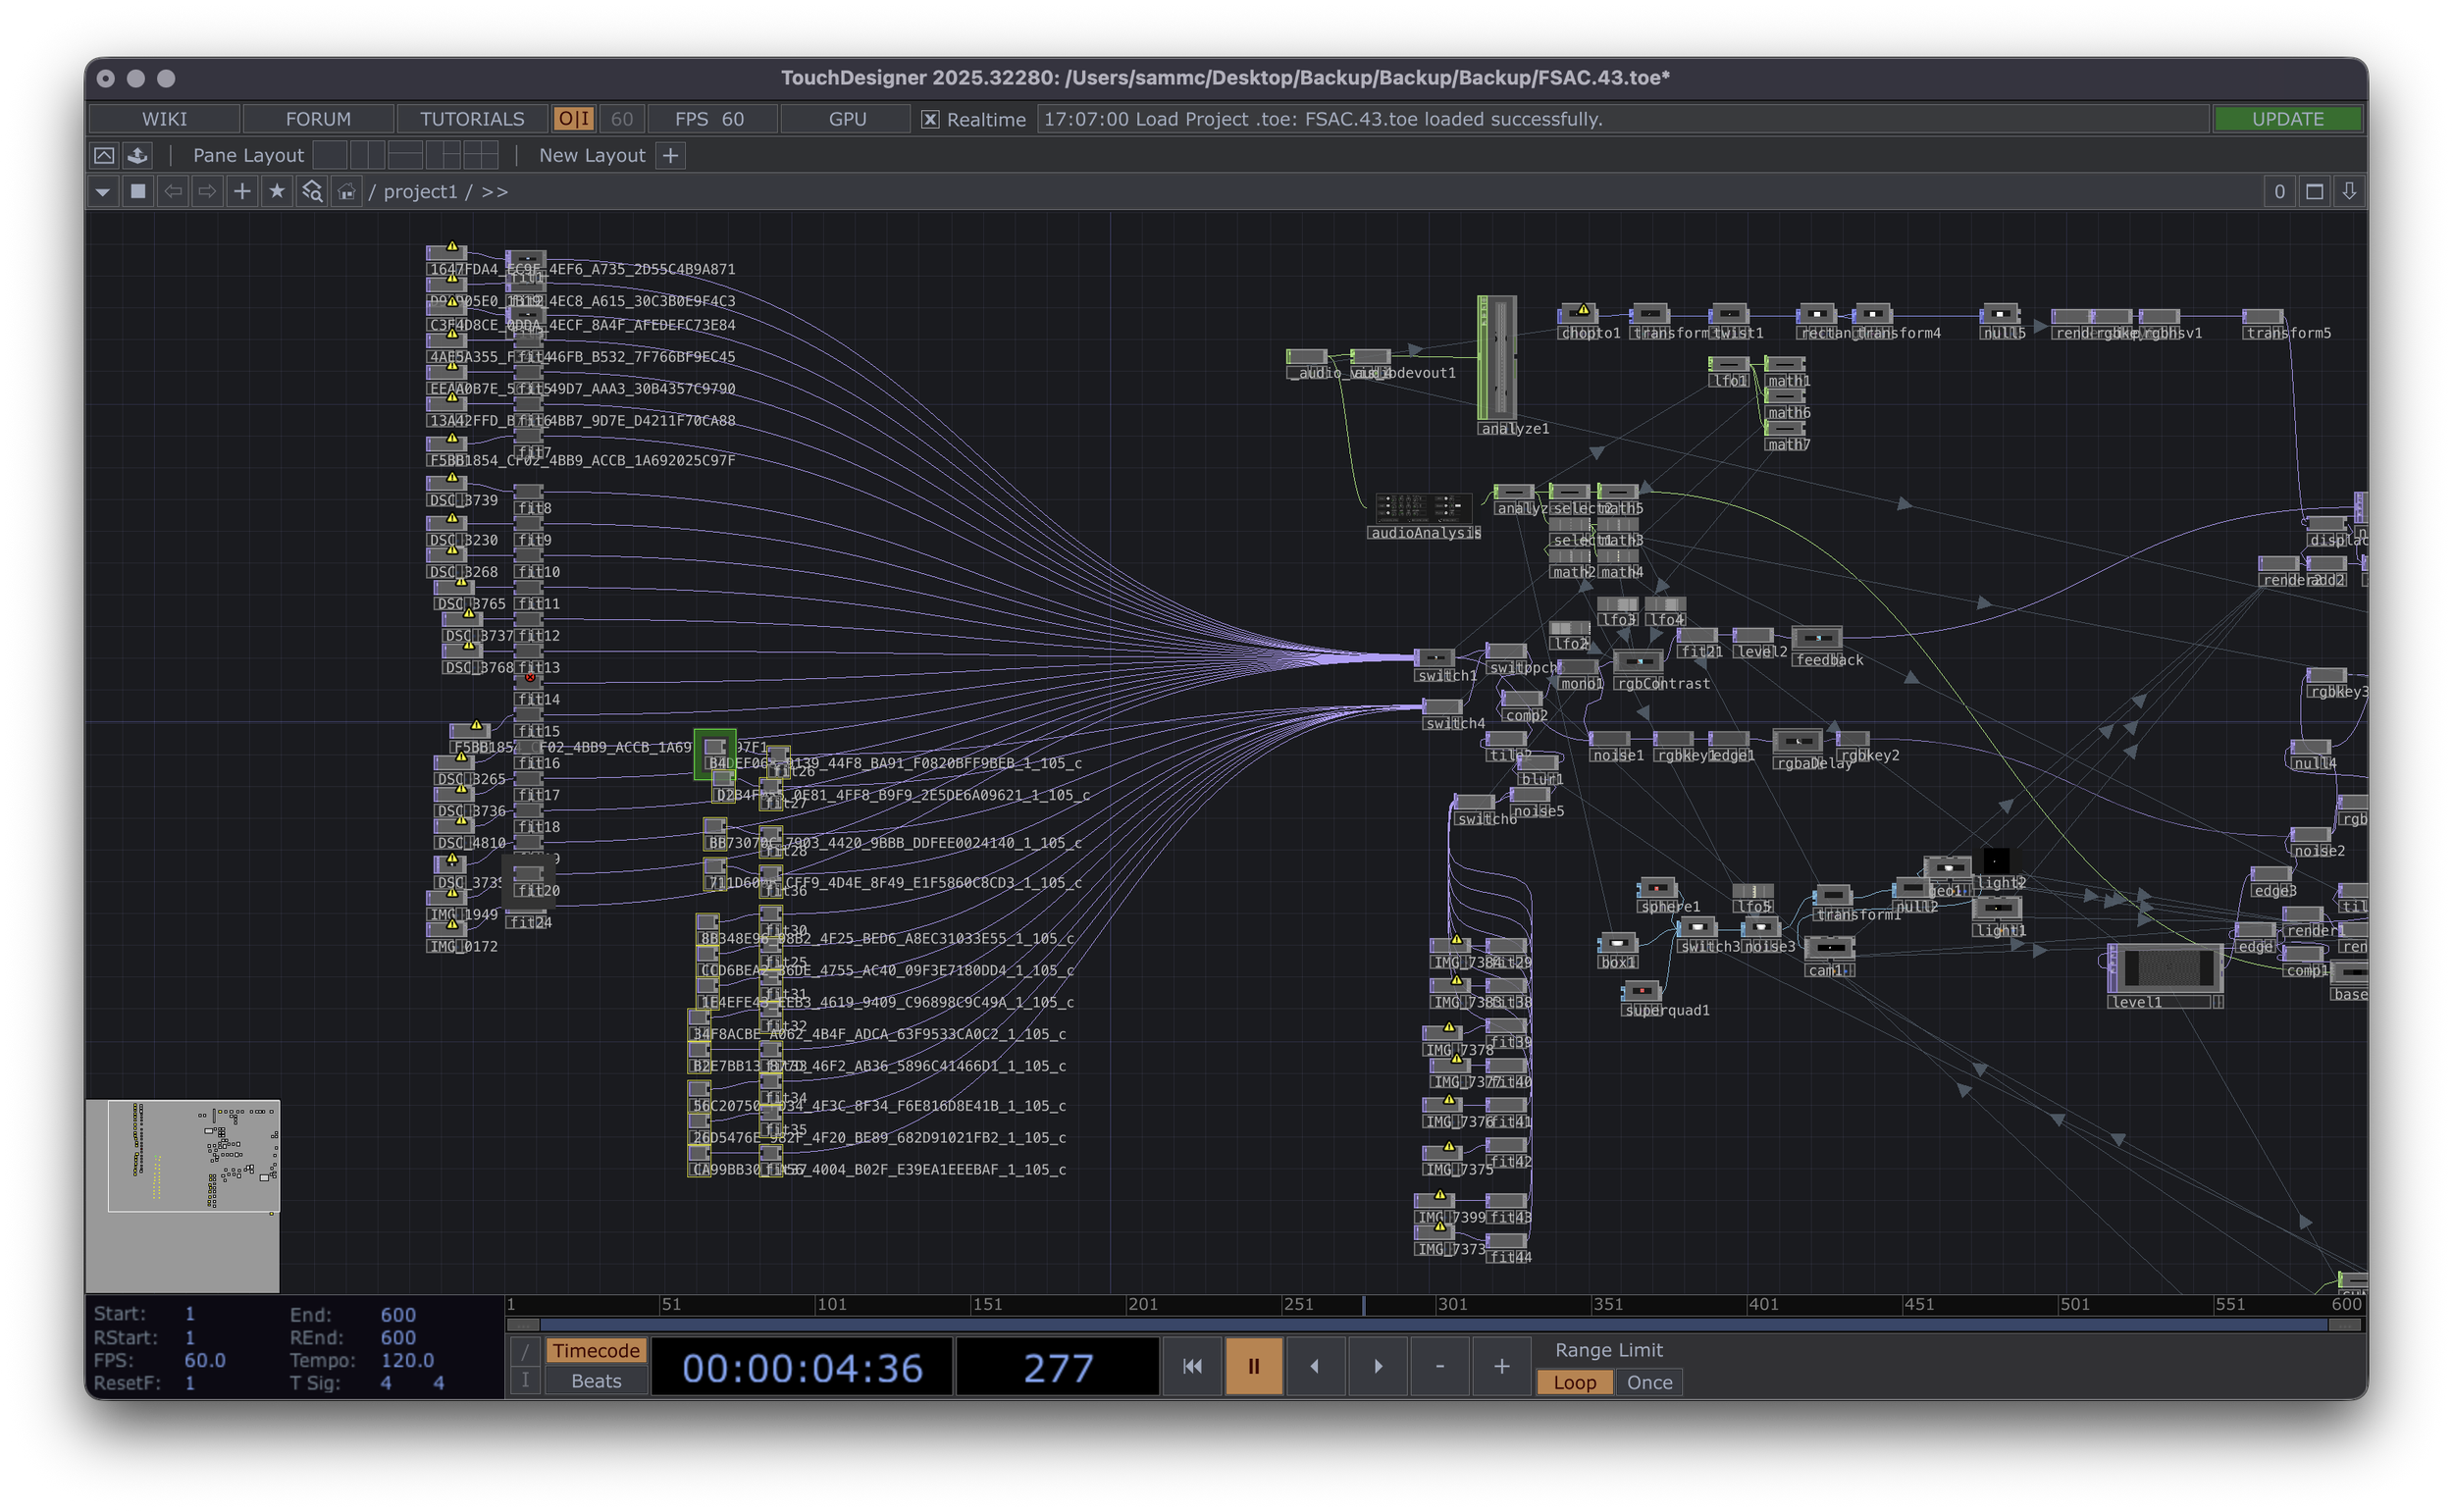
This the final Touch Designer project.
In the final week, I focused on rehearsing how I would use the MIDI controller alongside the track. This involved planning how to build and break down sections, deciding when to introduce or remove elements, and controlling brightness and intensity.
The aim of this project was to develop my understanding of TouchDesigner and how to integrate MIDI control into an audio-visual performance. Through this process, I improved my ability to create audio reactive visuals and manage multiple layers at once.
The outcome reflects this, combining still images, shapes, and effects into a system that can be controlled live. The project helped me understand how important structure, layering, and interaction are when creating visuals for a music-based environment.
A key part of the process was learning how to control energy within the visuals. Introducing elements such as noise, audio reactivity, and the use of a black background allowed me to better match the structure of the track. This showed me the importance of pacing, as without these decisions the visuals felt too chaotic and difficult to follow. Adding shapes and additional layers further developed the piece, although this also highlighted the need for balance, as some areas initially felt empty while others became too overcrowded.
The use of the AKAI APC Mini was a major development in the project, shifting the outcome from a pre-made visual to a live performance tool. Mapping controls to MIDI allowed me to interact with the visuals in real time, making the piece more dynamic and responsive. However, this also required careful planning and rehearsal to ensure the performance felt structured rather than random.
Through this project, I developed a stronger understanding of TouchDesigner, audio reactivity, and live visual control. It highlighted the importance of structure, layering, and interaction when creating visuals for a music-based environment and showed how technical decisions directly impact the audience’s experience.